January 13, 2014
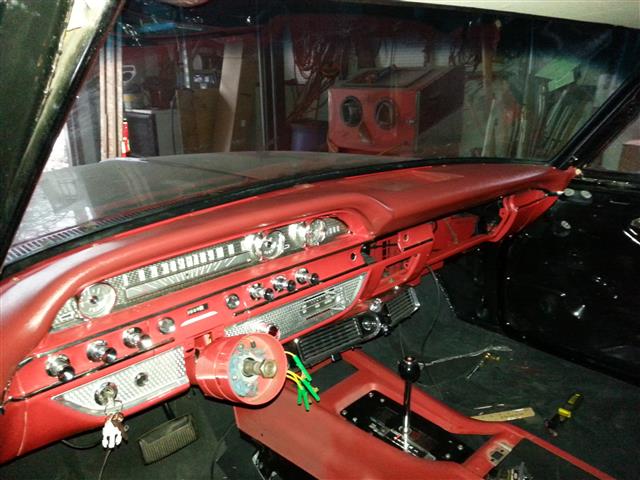
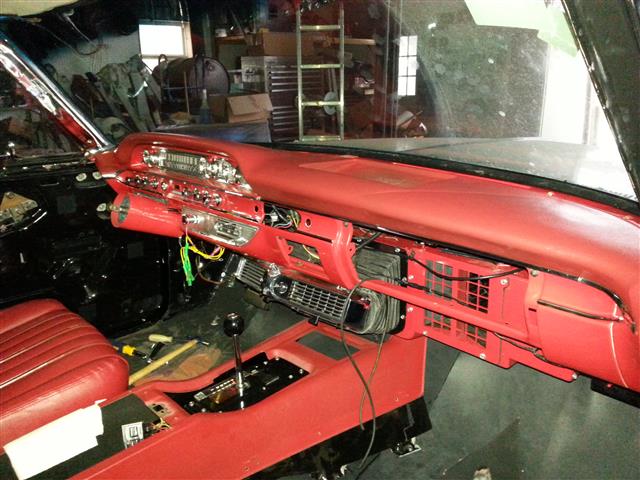
Today I installed the dash pad. Basically it is a matter of putting glue on the dash and the underside of the pad and putting it on the dash, and then installing the various trim pieces, then trimming the excess material away. The problem is that the dash pad had shrunk since I got it a month ago. But after a lot of pushing, pulling, and trimming, I finally got it installed.
When the new pad came in the mail, it was black, so I had to dye it red. The dye comes in a spray can just like spray paint, but covers very thinly. It took 10 coats to cover the black completely. I was very impressed on how good the Eckler's red vinyl dye looked and held up. When I was installing the pad, I had to push on it and rub the top of the pad with my hands very hard to make it stick to the glue on the dash, and I was handling the pad a lot, and the color wasn't affected at all. Also while I was trimming the pad to fit the dash, I had it upside down on a table a lot while working on it, and the color never scratched, smudged, or left any kind of mark. There was a lot of prep work. I had to wipe off the pad with wax and grease remover, scuff the dash with a scuff pad dipped in warm soapy Dawn dish water, then dry it off, and then spray it with vinyl prep spray, let it sit for a minute or two, and rinse that off with water. After painting it, I let it dry for several days before trimming it close to its final size for installation.
Here are some pictures of the dash pad installed on the dash.

